Fun Christmas Craft Ideas for Kids!
7 min read
Last Modified 29 August 2025 First Added 31 October 2023
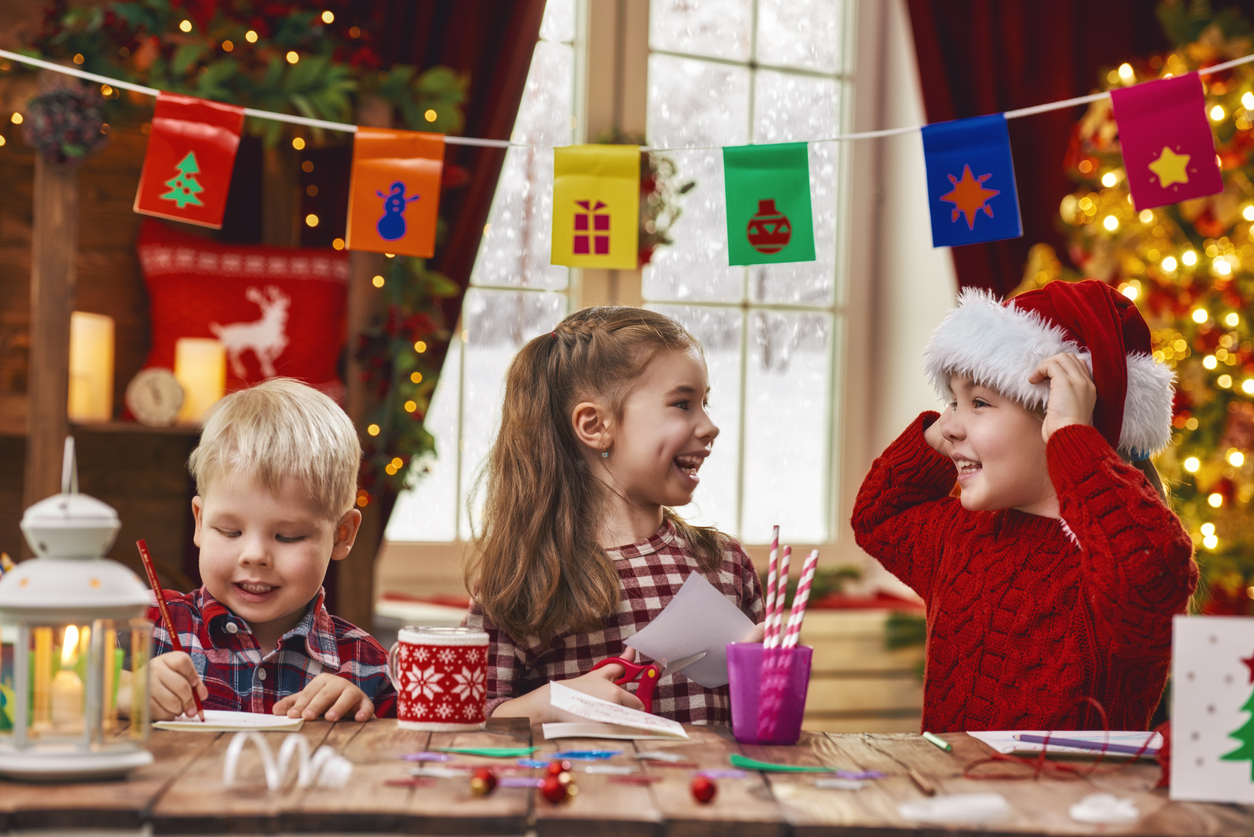
Christmas is all about spending time with family and friends, and getting all messy with a bunch of arts and crafts!
Unwrap joy and creativity with our festive Christmas craft ideas – perfect for children. In this article, we will provide some fantastic Christmas craft ideas, which are easy to make and can be used to decorate your home for the festive season.

Ornaments play a huge role in Christmas decorations, so why not have your children make use of their crafting skills and design their own to contribute to the decorations?
Here are some of our favourite ornament craft ideas for toddlers:
Snowflake popsicles stick ornaments: First, glue three craft sticks on top of each other to form a snowflake shape. Then use your paints brush to paints the sticks and add glitter to make it sparkle. Once dried, hot glue some twine or string to the top to hang them on the tree.
Fillable ornaments: You can hang your own fillable baubles on the tree, decorate them by placing all sorts of items within the baubles. From example, to add a spring touch you can add small stones and flowers inside or if your child has a favourite LEGO character you can place them inside and make them a small room within the bauble. Also decorate the outside with a design of your choice. You can also pour in different colour paints, swirl, and pour out the excess.
Salt Christmas tree ornaments: You’ll need table salt, cookie cutters, hot water, bowl and spoon, construction paper cut-outs and a plate or pan. Using your Christmas inspired cookie cutters, trace out your design on the construction paper (thicker/harder paper). Mix salt with hot water, once you have your cut-outs, place in a pan or dish and pour the salt mix slowly over your design until just covered. Now place the dish or pan in sunlight and wait until the water has evaporated.

Turn pinecones into adorable ornaments with paint, glitter, and tiny decorations and display them on your Christmas tree or set them on your dinner table for the big day.
How to proceed: Pinecones look great when dipped in paint! Try different colours such as green, gold or silver. Add loads of colour by decorating your pinecones with different patterns, you can draw on them, paint or stick some embellishments on your design. You can also add some coloured glitter for that extra sparkle. Next, cut out a little coloured star drawn on paper and add to the top of your pinecone. And there you have it! Your own mini pinecone Christmas tree!
Children love creating crafts with toilet paper rolls, especially with the current cost of living in the UK. Using recyclable materials such as toilet rolls is a great way to make use of waste and create fun shapes and characters. From the snowman to the elf – this will be a big hit this Christmas.
Here are examples of different Christmas characters you can design with your little one:
To begin, paint the roll with any colour for the face. Make Santa’s hat by cutting out a small circle from red glitter paper. Cut one slit into the circle so you can bend to form a hat and cut off any excess paper. Glue the hat together and glue it to the top of the paper roll. Stretch out cotton balls and glue to the brim of the hat and glue a single pom pom to the top of the ‘hat’. Glue on some googly eyes and a pom pom for the nose, add glittered red paper for the body. To finish, glue stretched cotton balls all around the beard and some under the nose to make a moustache. Now glue two black buttons on top of the glittered red paper.
Paint the roll white, make earmuffs by gluing a pipe cleaner over the top and glue to medium sized white pom poms to either side. Cut out a carrot nose from orange cardstock and glue down. Cut out a strip for the scarf or use a ribbon and wrap around the roll and glue. Finally, glue on two black buttons. You can draw on eyes and a dotted mouth with a sharpie.
Using a plain roll (or you can paint it brown), cut out the top center on the front and back on the same end. For the pieces sticking up still, make 4 slits on each side and pull them apart to make it look like antlers. Glue on googly eyes and a red pom pom for the nose.
This one never goes out of fashion. Quite easy to make and great to make your home look festive, paper garlands are one of the kids’ favourite DIY Christmas decorations.
All you need is paper, scissors, paint, and glue. We recommend the Out of the Box Bumper Craft Bag to give you a head start with over 300 brightly coloured craft essentials!
To begin, paint a few sheets of paper red and a few sheets green (on both sides), when the paint is dry, cut the sheets into long strips. Add glue to the end of a strip and bend it to make a ring shape and stick together. Alternate the paper colours and connect them, one red into one green into one red and so on. You can use the garland to decorate your walls, the edge of your tables or counter, or even use it to wrap around the tree!
Create an adorable rice sock snowman with these easy steps that will spark your toddler’s imagination.
Begin with white socks; men’s crew socks are perfect, but any socks will work. Cut just above the heel, flip it inside out, and seal the top with a rubber band. Now turn it the right side out and fill with rice, tie the top with another rubber band.
For the body, place a rubber band around the middle of the sock, closer to the top of the head. Craft a little hat from a coloured sock, add a stylish scarf with ribbon or fabric and decorate with buttons using hot glue.
You can then personalise the face with sewing pins for the eyes, orange fabric paint for the nose, and toothpicks for the arms, mouth, or cheeks. To be extra creative, use different patterned socks for the clothing!
It is common to have paper plates lying around the house, so why not use them for fun crafting ideas? Here are two fun paper plate Christmas ideas to try:
An easy craft to make and you probably have all the supplies already. Have a paper plate, clear tape, green paint, glue and multicoloured pom poms to hand. Place your plate upside down and pinpoint the center, now cut out an entire quarter of the plate to be able to fold into a cone. Roll the plate into a cone and tape together. Keep the tape on the inside! If you need tape on the outside wait for the paint to dry first. Paint your cone green and once dried glue on your coloured pom poms.
Lay out colourful pom poms, green paint, and paper plates with the center cut out. Colour the paper plate with paint, once dried, dip the pom poms in glue and stick down to the plate. This is great for toddlers as it is simple and develops fine motor skills.
These are a few ideas of fun Christmas crafts you could do with your little one to decorate your home and make it festive while on a budget. Christmas is about making memories that will last a lifetime with your loved ones! Create more precious moments and explore ‘6 Magical Things To Do On Christmas Eve With The Family’. Alternatively, discover the best presents for the festive season with ’10 Top Toys For Christmas’!
Discover even more fun this magical festive season with our curated collection of Christmas Toys.
Read our disclaimers.