Free Click & Collect within 30 minutes
 Free delivery on orders over £39.99
 Free Next Day Delivery on orders over £75
 Gift Cards available
How to Make a LEGO Photo Frame: Step-by-Step Guide
8 min read
Last Modified 30 March 2026 First Added 26 March 2026
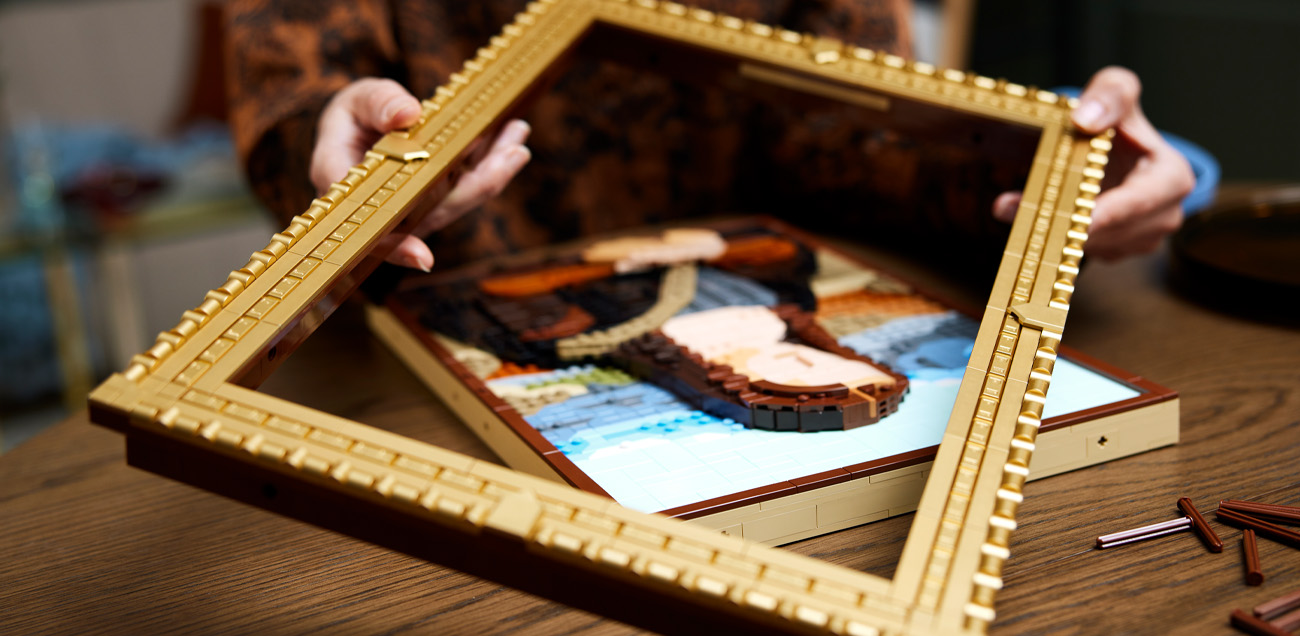
LEGO is a fun and fabulous way to build projects and bring your own designs to life. But all too often, we see LEGO projects competed and then demolished once they lose their lustre. Coming up with a fun project idea that will keep hands and minds occupied, that will then last a longtime and use up some of those LEGO bricks lying around the house is a great way to keep children engaged and make the most of their toys.
A LEGO photo frame is ideal for doing just this. An interesting way to display family photos or favourite moments while also showing off your building prowess and creativity. A fun and achievable way to create something special that combines creativity and memories.
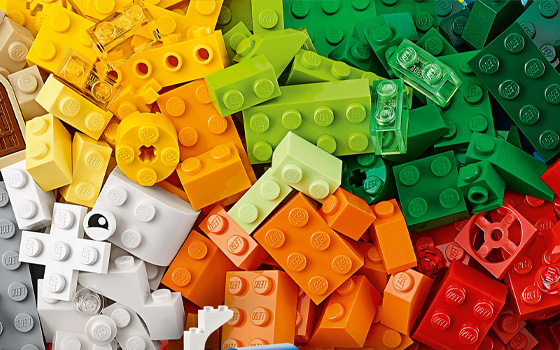
If you’ve got little LEGO collectors at home, you should have most of what you need already, with LEGO Classic pieces providing the basic shapes and colours, as well as a base plate for a starting point. Beyond this you may want some basic arts and craft supplies, like cardboard backing for your chosen photo, scissors, glue, and clear acetate.
There’s no need to go on a shopping spree, make the most of what’s already in the toy box and getting those creative juices flowing.
The size of your frame relies on the size of the photo you want to display, so choosing which picture you wish to frame is key to the whole process. Standard photograph sizes are 4×6” or 5×7” and typically need 4 to 6 studs all around, so once you have your photo, use LEGO pieces to measure a straight line along each edge and work out how many studs in length you need to cover each side. You’ll also want to decide how you’re going to display your photo, whether it’s in landscape or portrait, so you know where the top and bottom of your frame will be.
Once that’s all decided, the fun can really begin with choosing design features for your frame. Do you want 3D elements that pop out of the frame, or would you like to create a scene with minifigures? Look at what you have at your disposal and come up with ideas that you think will look great and complement your image. Also consider colour choices, whether it will match the room décor or if you want it to boldly stand out.
Where will this frame live once it’s been completed? If it’s to be hung on a wall, it’ll need a hanging device, or if it’s going to be on a shelf or desk, it’ll need a stand. All of these things need to be considered and it’s worth sketching out your idea first before construction begins. Planning your final design will make the building process so much smoother.
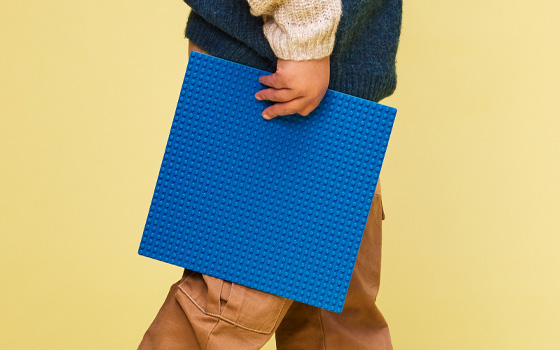
Place your photo on the baseplate to visualise your layout. This will help you see the stud measurements needed and avoid mistakes. Make sure the photo is placed evenly on the baseplate, so it’s not positioned awkwardly over the stud pattern, as the placement of bricks relies on this. If the picture needs trimming up for a better fit, now is the time to do so before any other building takes place.
Once your happy with the basics, you’ll also want to plan out where your decorations will go so as not to obstruct the photo. Ultimately, the picture should be the main thing that draws the eye and everything else is there to add to it.
Everything’s been planned out so now you can start the building. Begin with your base layer where you need to build a complete rectangle, that’s level, around where the photo will sit. Make sure to overlap the corners, and stagger bricklaying to incorporate strength into the structure as you build it up.
In order to achieve a proper frame effect, you’ll want to aim for between 4 and 6 bricks high, around the perimeter. This should give you a tasteful thickness, and then you can start finishing the frame with smooth tiles or leave for that classic LEGO look.
Now you can let your creativity run riot. Add the decorations and build scenes that compliment the photo. Add flourishes like flowers for a landscape scene or minifigures that represent the people in the shot. Don’t go overboard though as you don’t want to distract from the photo or block it with large pieces.
Make sure your decorations are properly secured so that they don’t fall off, as you don’t want to be constantly readjusting your frame.
Cutting cardboard to fit exactly inside the frame gives you a sturdy backing that you can secure with removable tape or other adhesives and then fit into the frame with the picture.
It may be worth considering adding acetate, or another clear surface, over the picture to protect it, while some may prefer simply sliding a photo in loosely for ease of changing it.
Whether you’ve chosen a standing frame or a hanging frame, creating the system that holds it up is very important to its display capabilities. LEGO hinges are great for creating a stand, but test and adjust your angles when affixing them so you can out your picture in the right position.
If it’s hanging, you’ll need proper wall-hanging hardware that will have to be glued to your construction. Test that it’s strong enough to handle the weight first, or alternatively, try a magnetic backing so you can put it on a fridge or radiator.
Finding the perfect theme for a photo or designing a colourful frame can really help unleash your creativity. Why not turn to your picture for inspiration and build a beach scene for a holiday shot, or a seasonal frame for Christmas or Easter.
Alternatively, how about colour coordinating to your bedroom, or wherever you want to display the frame, or having a bold and bright rainbow frame. If it’s a team photo, why not create a sports themed frame or use Star Wars minifigures to commemorate a fancy dress party. There’s plenty of places to find inspiration online, like Pinterest, Instagram or YouTube tutorials, or use your imagination to create a scene you’d like to see.
Preparation is key to getting the most out of any build so knowing what you want your build to look like and testing the photo fit is going to go a long way here. Definitely make sure everything fits and is in working order before you start glueing or sticking anything!
Keep your build on a flat surface to make sure it’s all level and even and taking progress photos can help you identify any areas you may have gone wrong and will also mean you won’t have to start from scratch if you do make a mistake.
Common mistakes to avoid are making the border too narrow, not leaving enough room for the backing or not securing decorations properly. Uneven heights can make it look wonky and making it top heavy means it will have trouble balancing and standing upright. If you like a bit more flexibility, why not design it so different photos can be slid in and out of it?
For those who are confident in their skills, maybe more advanced projects would be up your street. There are plenty of things to do to add a little more intricacy to your frame like creating a double sided to display that has different photos on either side.
Why not make your frame something more by adding hidden compartments or moving parts? Keep things organised while still displaying your favourite memories.
Each LEGO project should be fun so make sure to enjoy the process and make the most of the creativity. Troubleshoot problems like instability or wonkiness as you go to make sure your build is functional too.
A practical build that can work as a fun family project or something to keep regular builders occupied, it’s a great way to indulge in out of the box thinking and make the most of the bricks you already have.
Read our disclaimers